Background
SO in another article I showed you how to install Mint Linux on an old computer. Basically I have an OLD Dell XPS 400 desktop PC I got way back in 2006, or 2007. It worked fine before the hard drive failed on it (sometime around 2013-2014), and just had it sitting in it storage after I hand-built another computer.
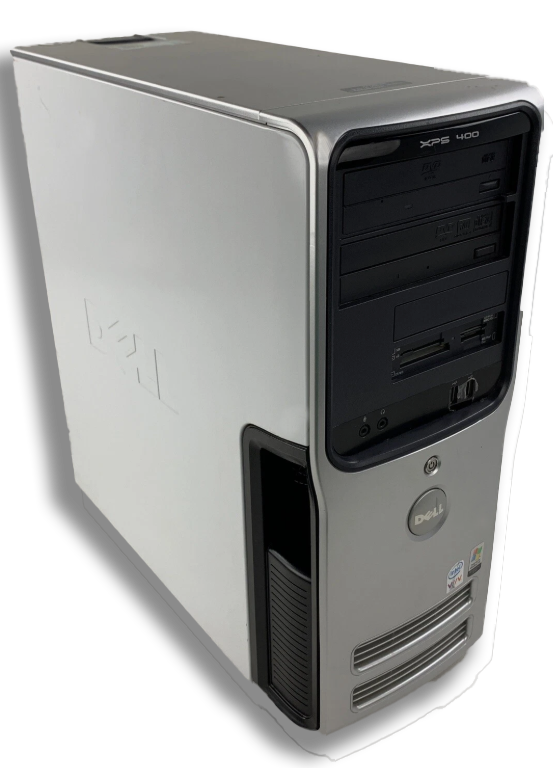
Since I had the XPS400 laying around, I said why not fix it and turn it into a Linux Computer/Server because there’s less requirements for the OS — especially when compared to Windows. I already have experience with Kali Linux and wanted to try a different Linux. So I proceeded installing another SATA HDD I had laying around.
After using another HDD and installing Mint OS, I noticed my computer fans were running JET engine speed at the launch of any application and even booting — they would get louder and louder until I thought they were going to explode or start a fire. Initially, I thought I might need a new fan, but being a computer-tech earlier on in my life (for a corporation I will not mention), I decided to investigate further. I checked all the BIOS settings and Linux settings and everything seemed to be set. So then…
Why are my computer fans so loud!?
I did remember that I opened the XPS400 once because i wanted to clean it of all dust that may be causing extra stress on keeping the CPU cool (but I never disassembled the CPU heatsink/fan assembly). It helped initially, but then it started having HDD issues and the data was corrupting, but, as stated earlier, I just put the computer away and made my own new computer from scratch.
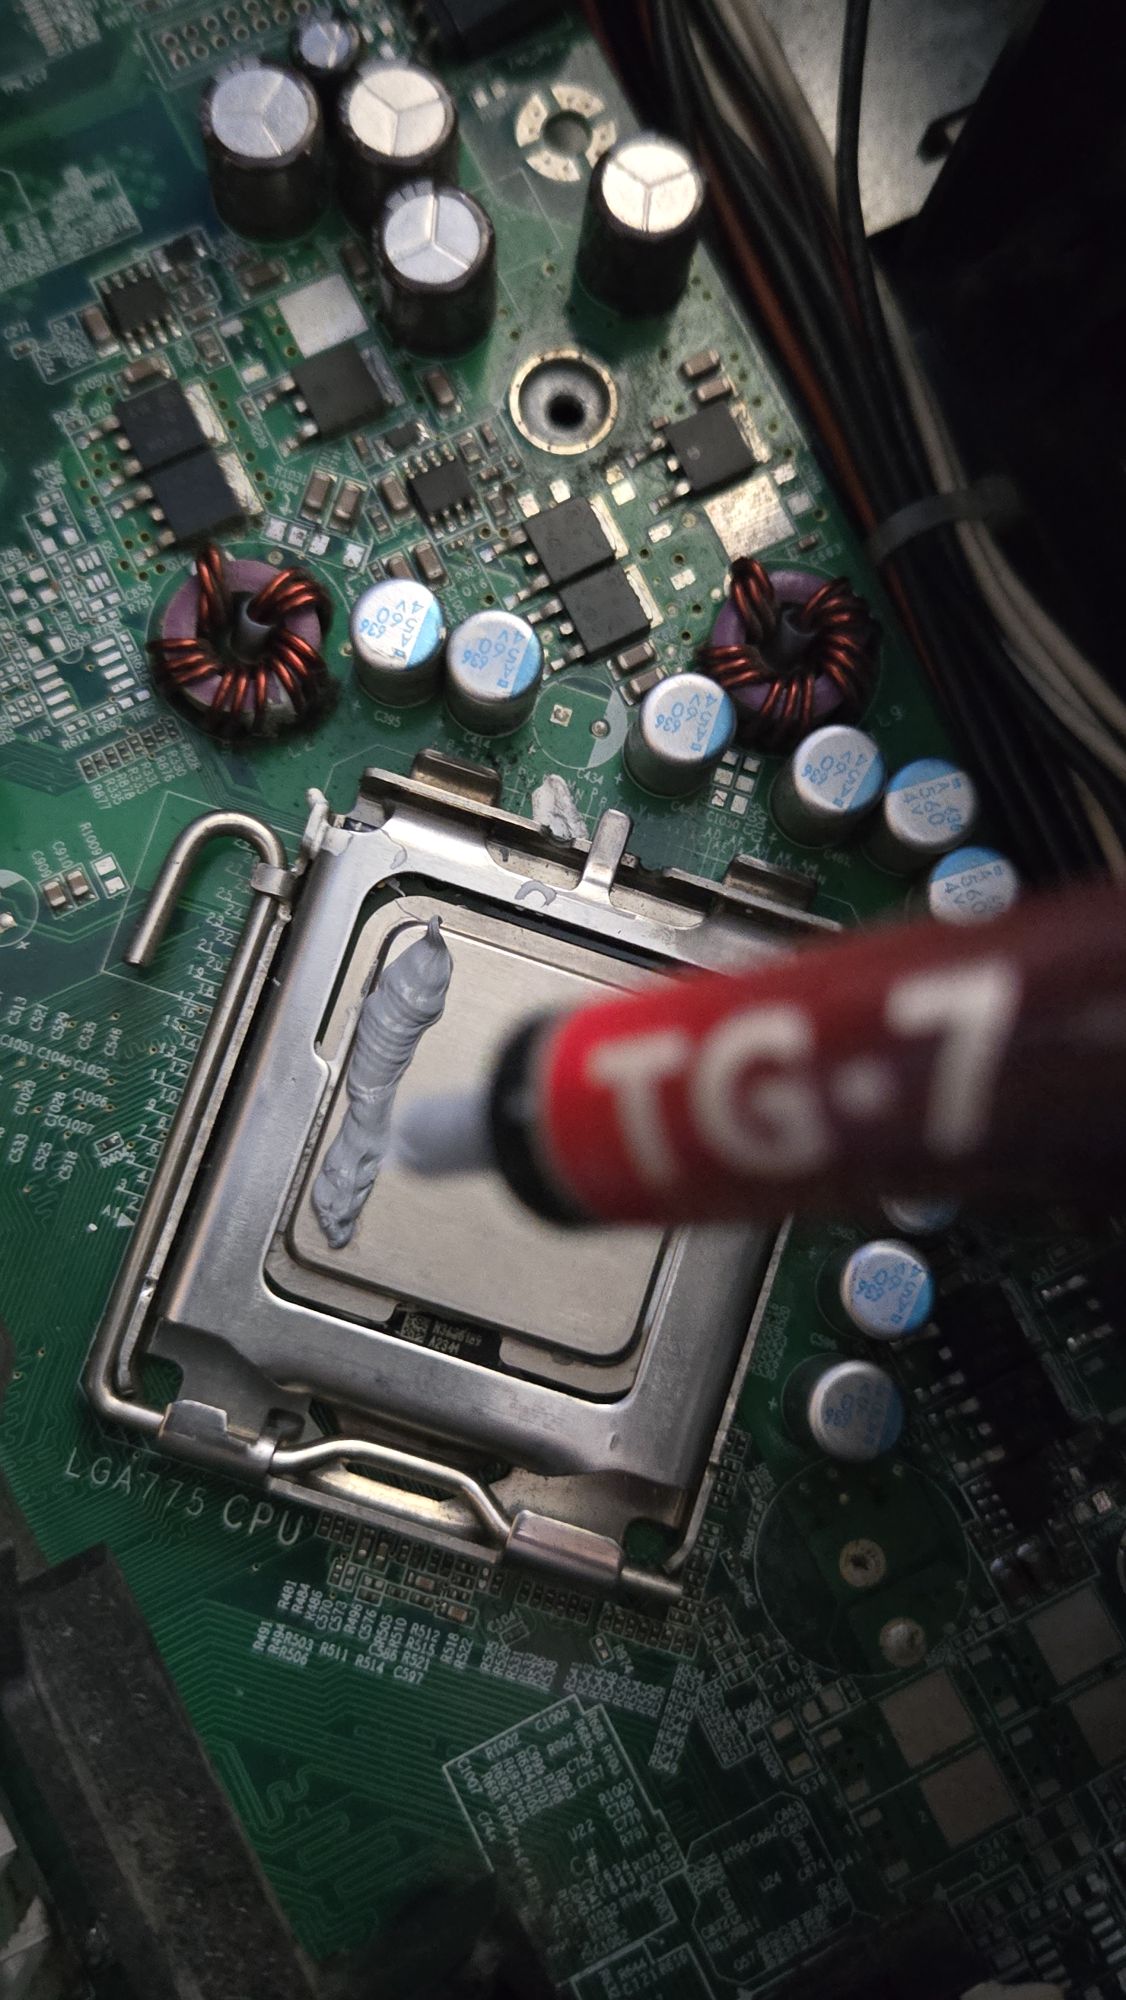
Logically I thought, since the XPS 400 is an old computer, it may need a more thorough cleaning. Seeing that the main fan (and possibly the only fan) was the CPU fan connected to the heatsink. The computer fan was designed to speed up as the CPU chip got hotter. That being said, started me on a path to open up a Dell XPS400 (again), and check the thermal paste from the CPU to the fan, and that’s when I discovered this:
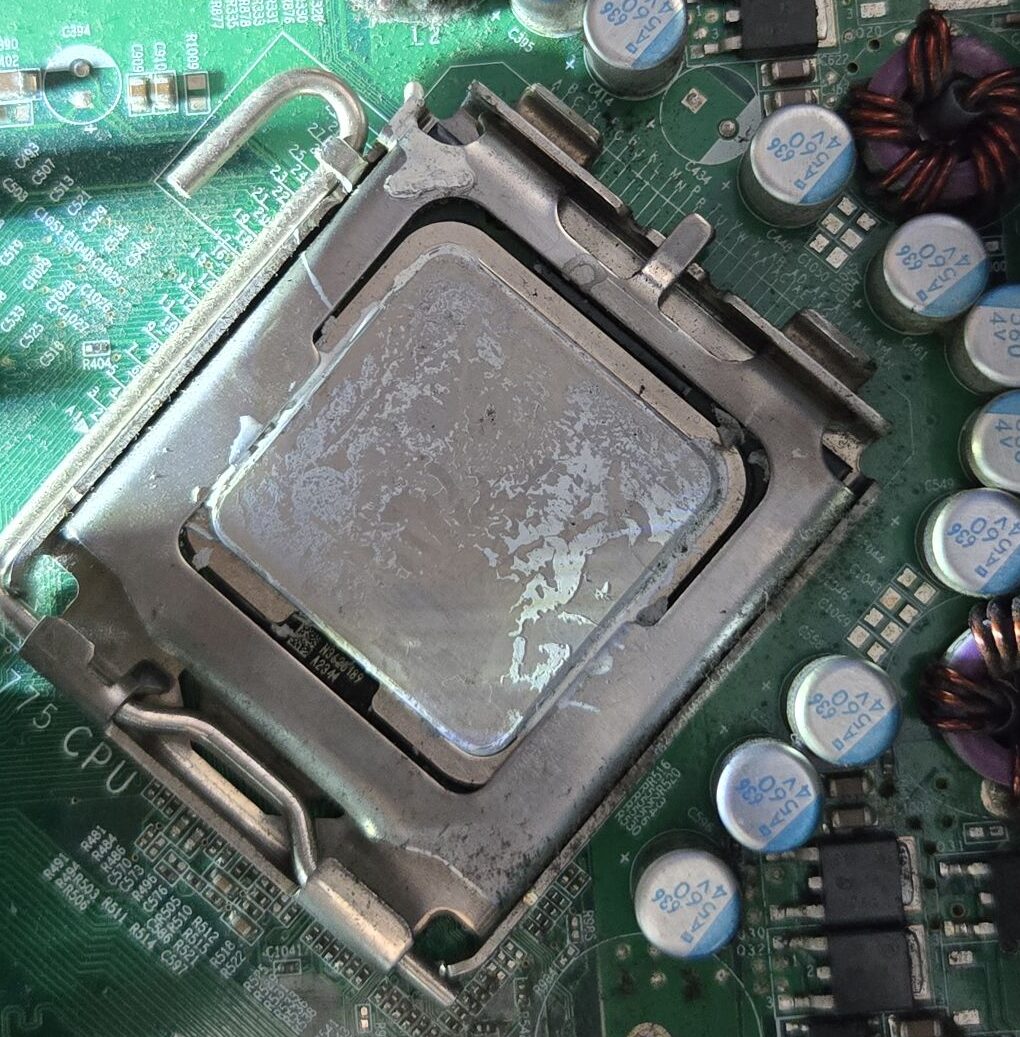
As you can see, there’s barely any thermal paste on the CPU.
And, here’s another picture of the side of the heatsink that connects to the CPU Chip.
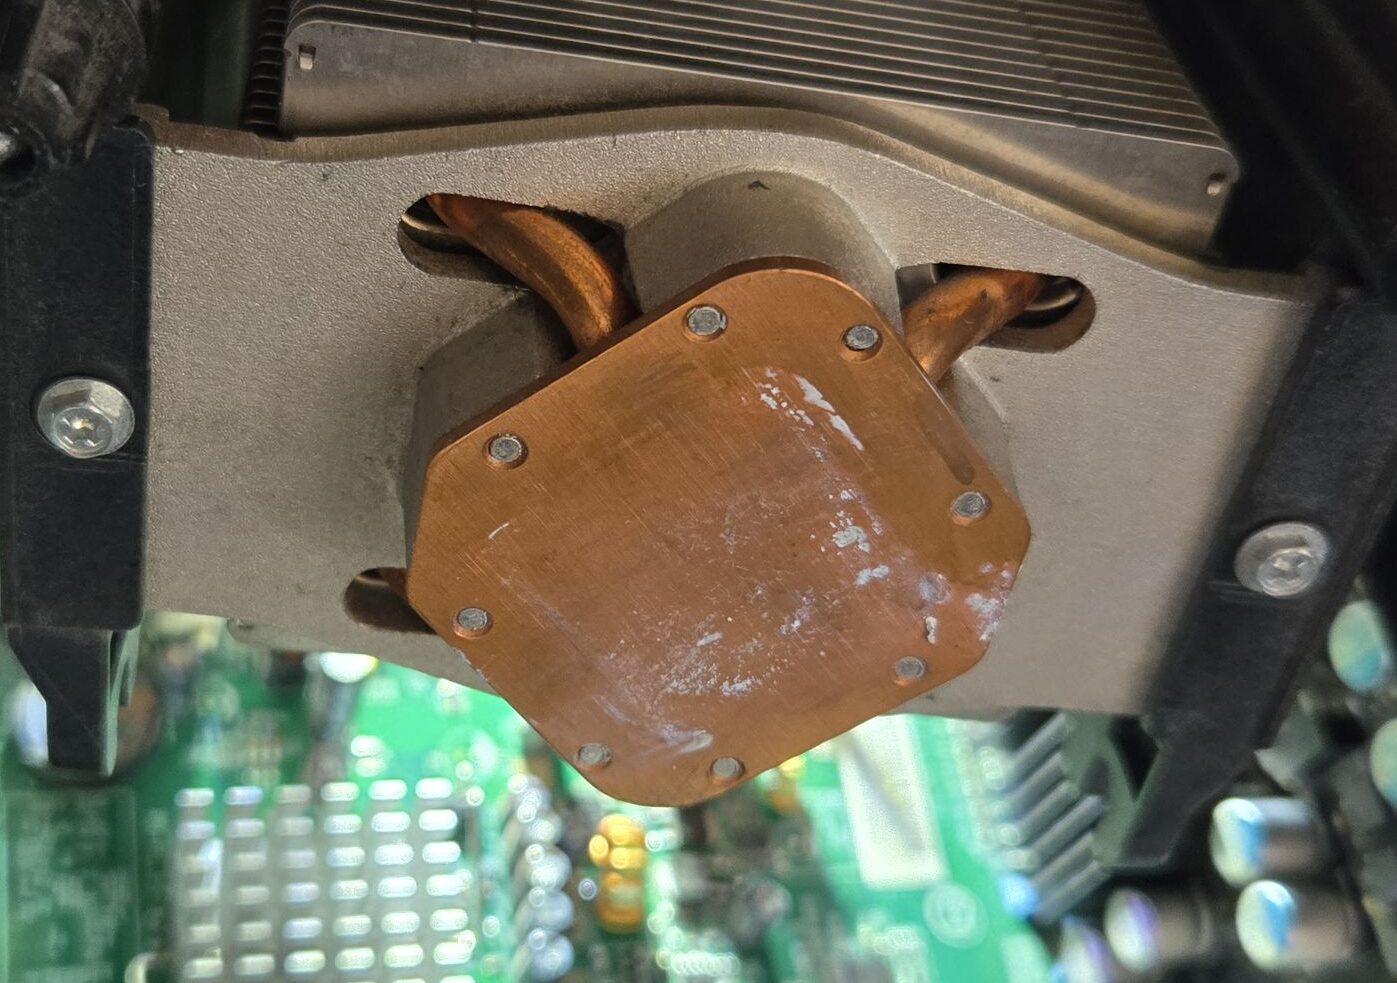
Even as a hardware tech earlier years of my life, I was shocked that there was barely any thermal paste. I’ve worked on older computers, and gaming consoles, and they did not look as bad. They had more than sufficient thermal paste, even though it was replaced anyways. I also did some further researching and discovered that apparently the thermal paste must be changed from 3 to 5 years — depending on the quality. Thermal paste is VERY important for dissipating heat from the chip to the heat sink.
After doing some research, while re-doing my thermal paste, I actually ran into a article that states:
The consensus among PC enthusiasts and professionals is that thermal paste should be replaced approximately every 2 to 3 years. However, this is a general guideline and the actual frequency can depend on several factors..–https://www.mwave.com.au/blog
2 to 3 years is VERY early in my opinion, as long a as a good thermal brand is used — I think you should be able to get 5 years at least in a well-ventilated space. Mwave.com continues to describe “Signs of Change [for thermal-compound replacement]”. And guess what, one of the “signs” is:
Unusual Fan Noise:
If your computer’s fans are working harder than usual, resulting in increased noise levels, this could indicate that the thermal paste is no longer effectively transferring heat away from the CPU or GPU. Fans may ramp up to compensate for the higher temperatures caused by inefficient heat transfer.
Https://mwave.com/au/blog describes the above, amongst other reasons — It’s a good thing I’m already working on it.
However, back to my XPS 400:
Solution to fixing really loud computer fans
🅐 Remove the old paste COMPLETELY
🅑 Replace with new thermal compound
🅒 Screw the PC back as it’s meant to be
🅓 Test the PC
🅐 Remove the old paste Completely
I had to remove the old thermal paste from the chip and the heat-sink COMPLETELY. To do this, I used alcohol swabs to scrub them down until they were shiny again:
I mean get it cleaner if you can — you don’t want any old residue. The chip should be as clean as the day it was purchased, but still remember to be mindful of the small caps and resistors around it as you don’t want to damage those by scrubbing too hard.
🅑 Replace with new thermal compound
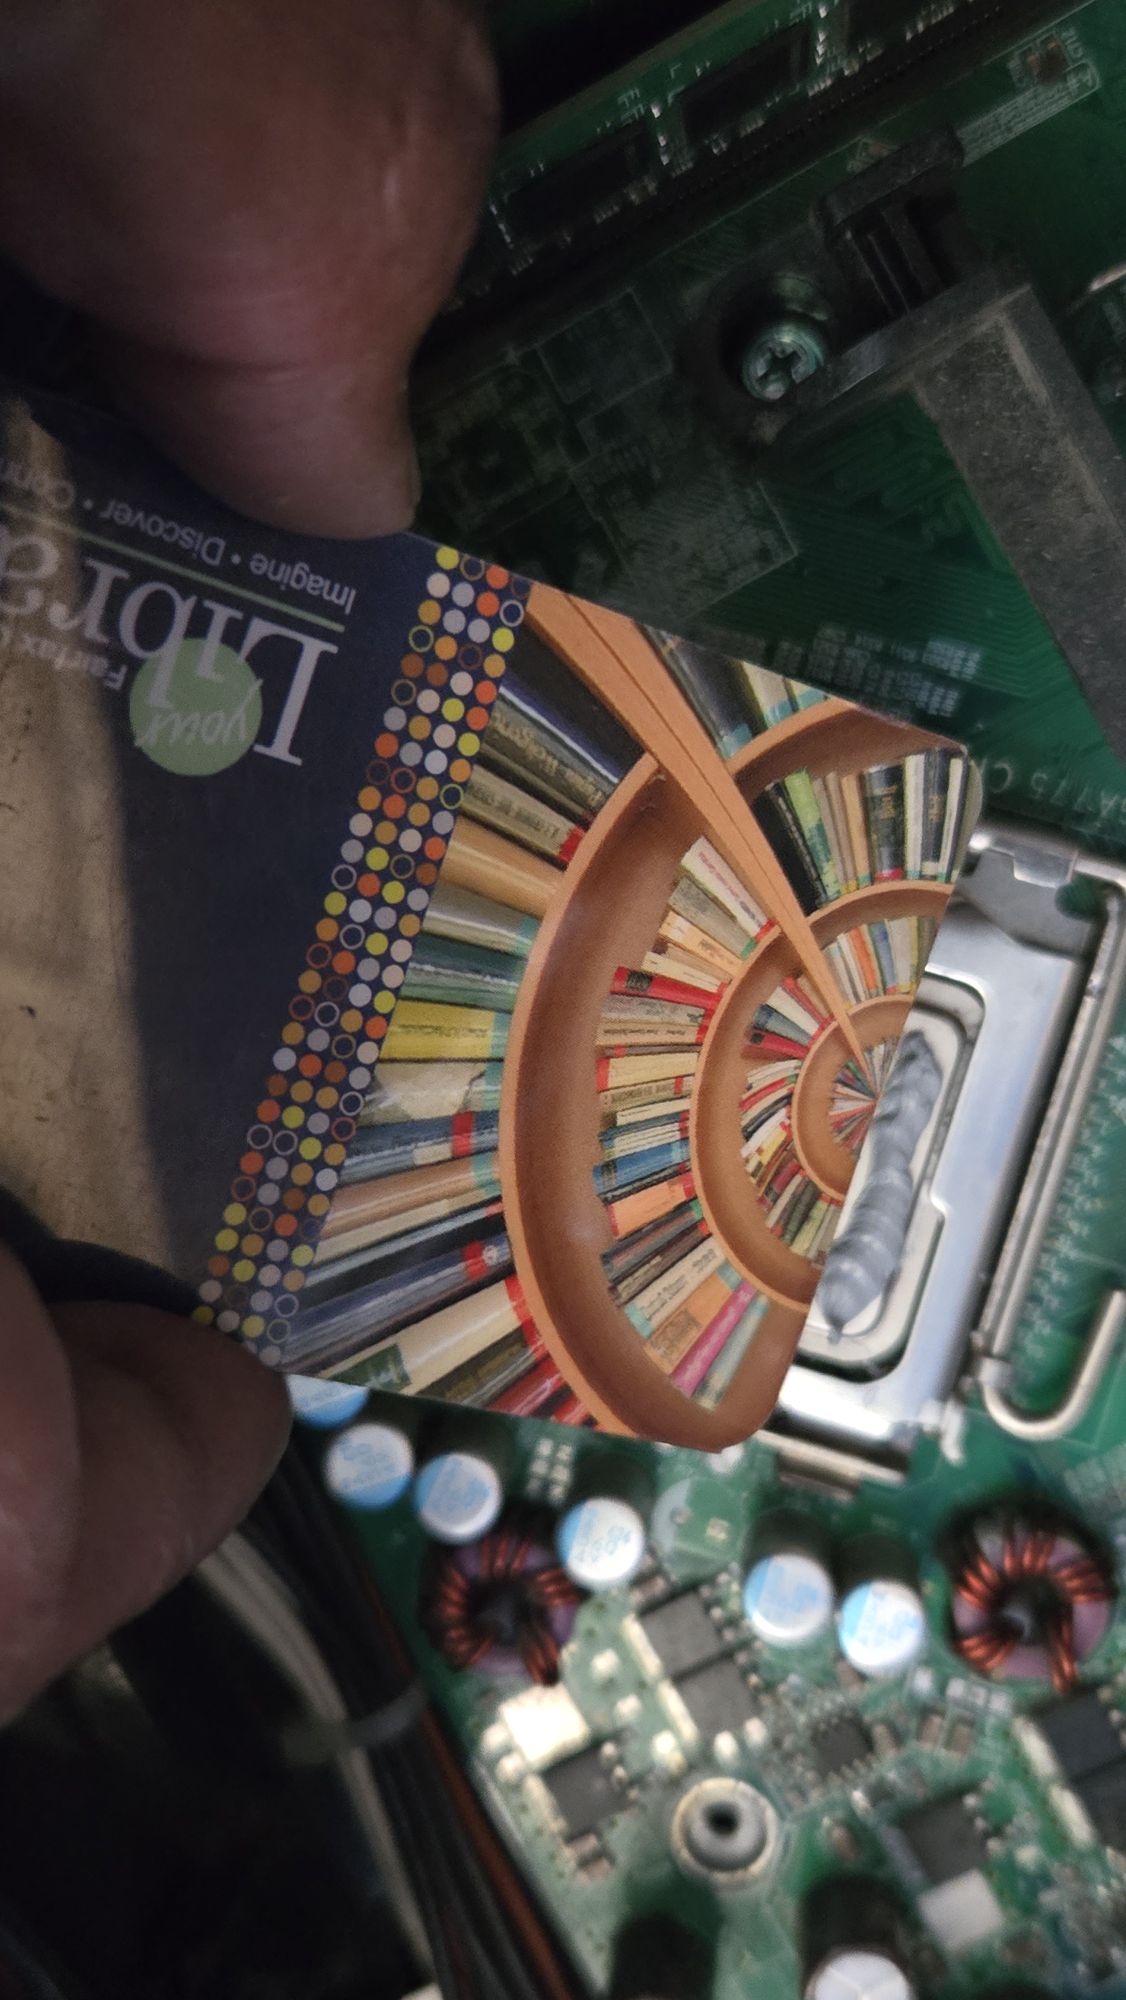
Next, I applied new thermal compound that I found lying around. Now this was a question I got a lot as a hardware tech: “How much compound should I use?” My answer to that is, bare minimum — you just want a thin flat layer over the entire chip.
I start by doing a line (thicker than normal) on one side of the chip, and work it around with a credit card (or library card in this case). Some compounds even come with an applier tool if you would rather use that instead of a personal card, it’s up to you.
Here is my daily used library card, being used as a spreader tool:
Here is the finished “coated” chip, as you can see, it’s a very thin layer but covers every corner:

This step is very important.
Important: Some people like to just put a blob and tighten the heatshield in hopes that it will just spread the compound when you tighten it — working as a tech for years, has taught me this method is prone failures. Sometimes it’s too much compound, or it doesn’t spread evenly to all sides (because the screws are tightened at different times. This means some compound slides around and get more compound (as it shifts around based on how the screws are tightened) and others get none, or very little.
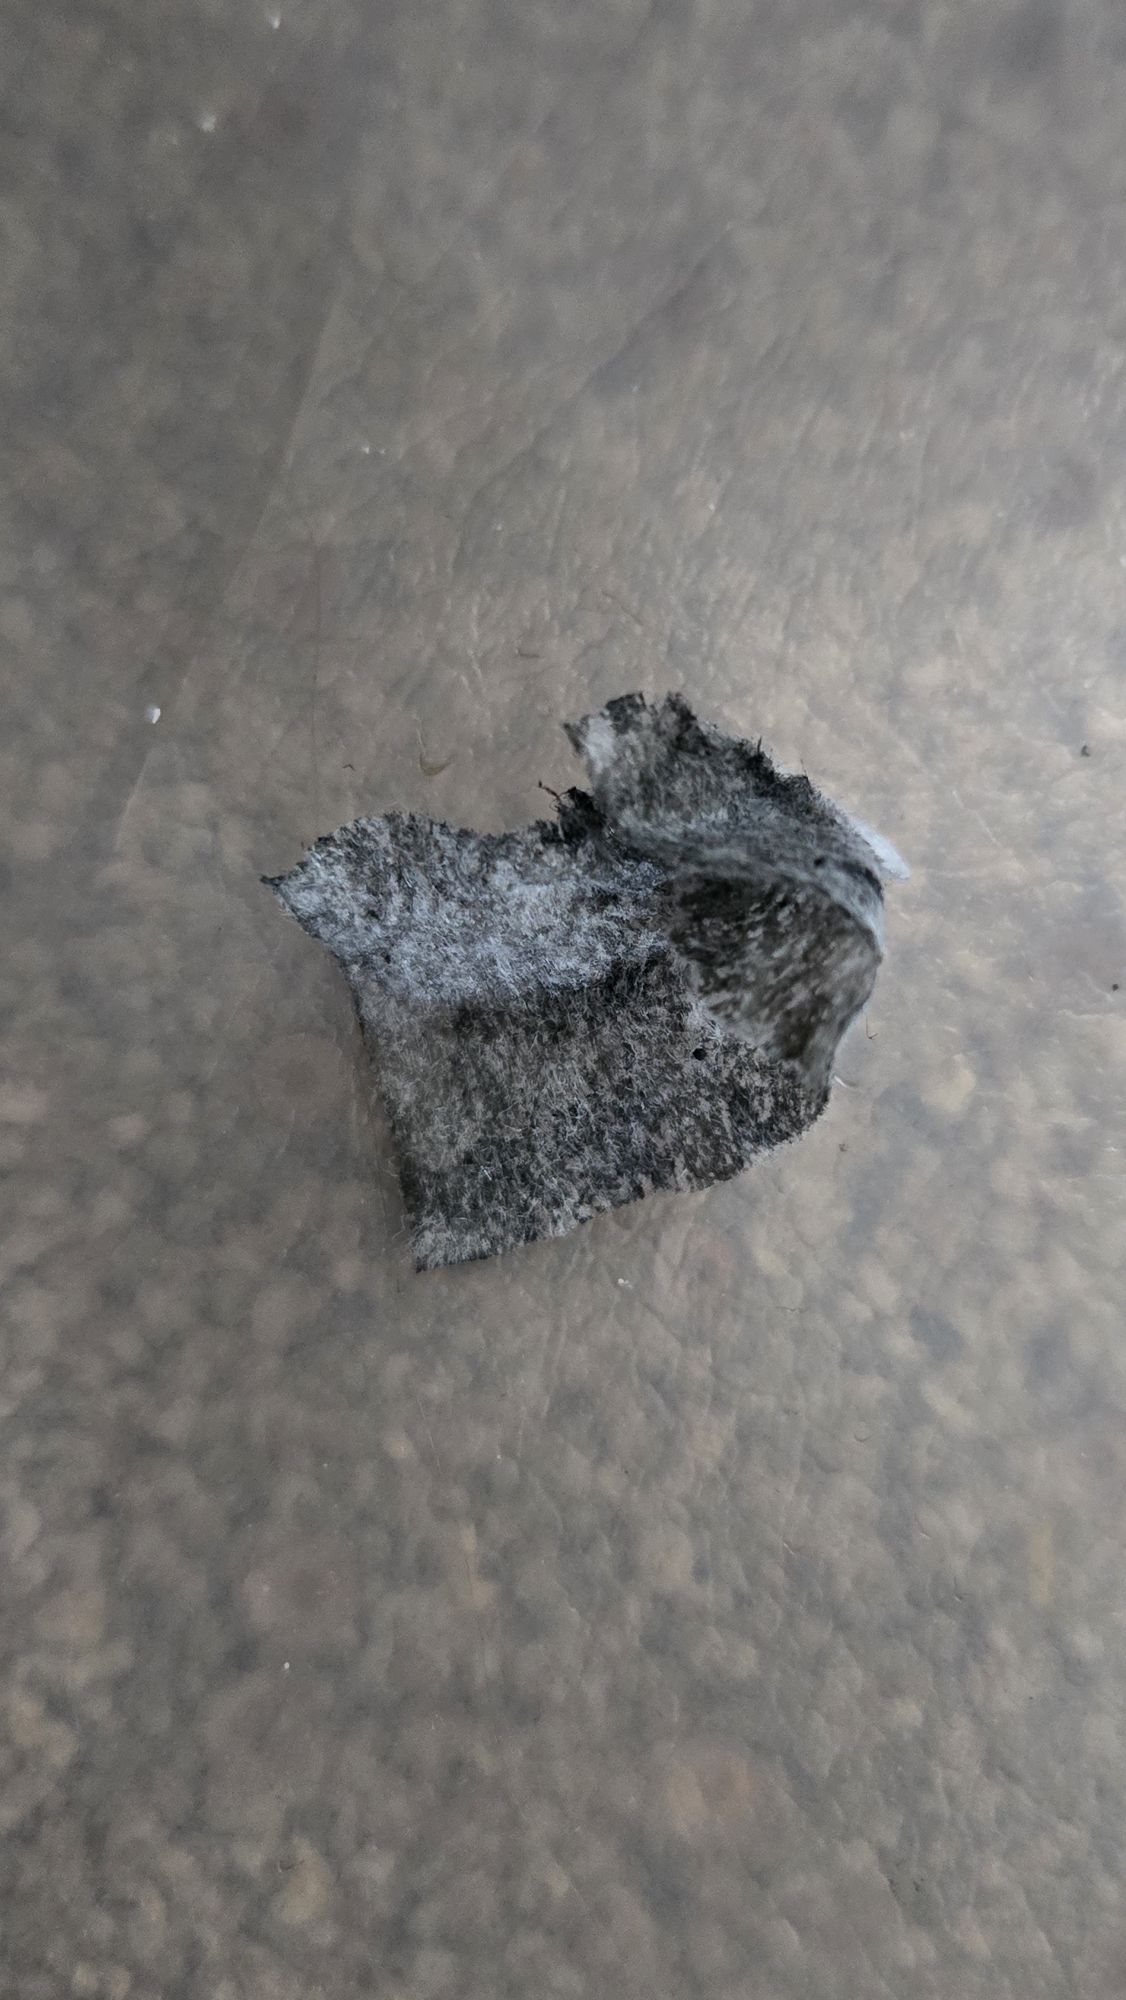
Afterwards, or before (if you like) you may want to do a visual inspection of any other dust spots inside your computer, such as dirty fans, and maybe a dirty power supply or motherboard. The best thing would be to give the entire board a ultrasonic bath but it’s not necessary. You can wipe gentle areas with a q-tip with alcohol, use alcohol swabs, or even a spray duster.
As you can see, I was about to remove some extra grime built up on the vents by the fans with a couple of alcohol swabs:
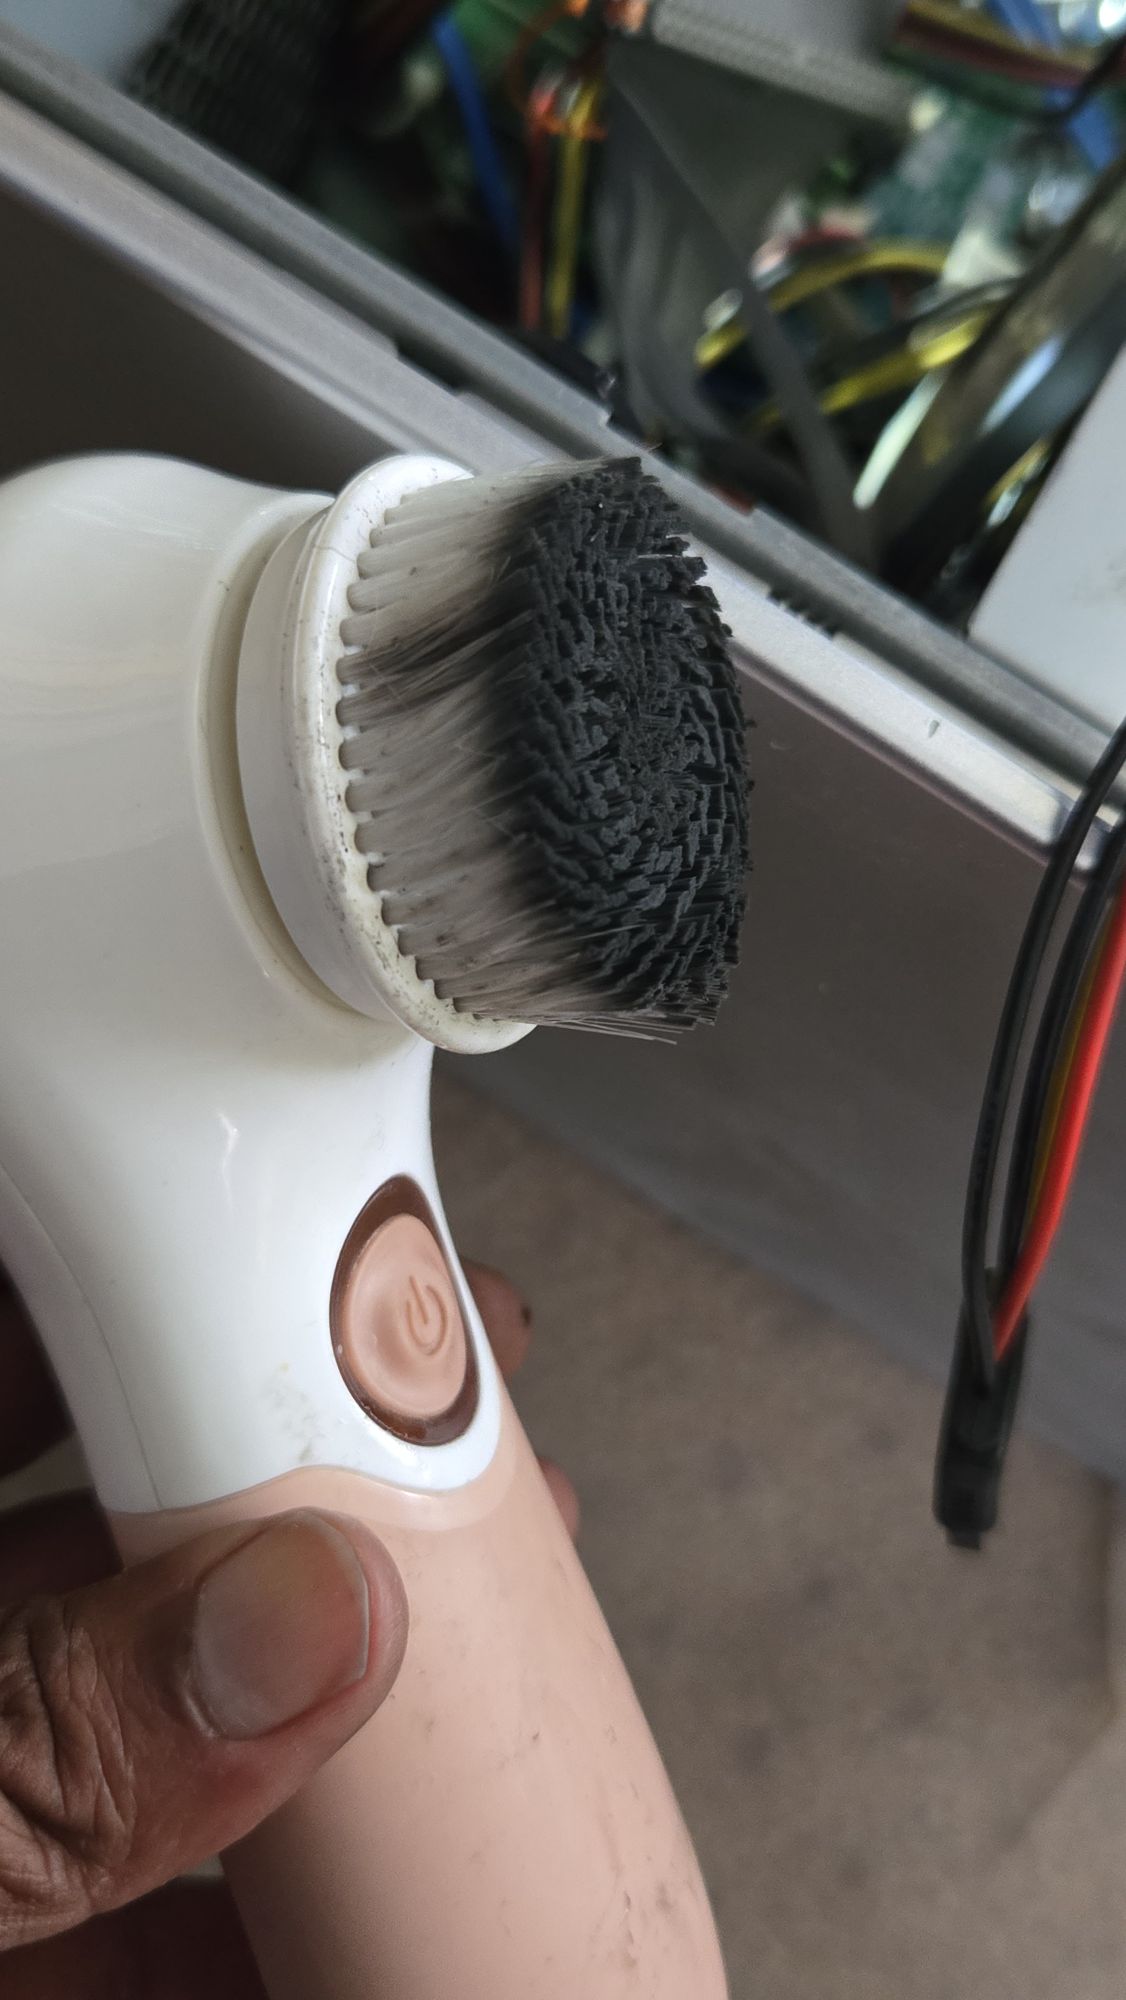
I even found this nifty gentle rotary tool that helped me get some of the grim off the case — It did a real good job. I think its a gentle face scrubber. Just be careful where you use it: I used it to get some grime out of the power supply, and general vents of the case:
🅒 Screw the PC back as it’s meant to be
Finally, screw the heatshield on as you took it off — it might be helpful to loosely or hand-tighten all the screws first, then go for a final tightening. Don’t over-tighten these either. You want to let the thermal compound work some of it’s magic. Over-tightening may just lead to metal on metal contact again — which will squeeze all the compound you just applied back out the seams, which will result in failure.
🅓 Test the PC
I recommend plugging in everything the way you had it, and even install the side cover because it helps regulate airflow, or direction of the airflow deemed most beneficial for by the manufacturer. My side panel needs to be cut because when I updated the graphics card on this PC, the cover would no longer fit. The heatsink of the new GPU sticks further out so i have to cut a hole to cover it. — I will leave that for another day.
Conclusion
Now my fan is functioning at normal speeds — I can’t even hear them — this means the thermal compound is doing it’s job. Initially I thought it could have been bios settings, broken fan, motherboard issues, but I’m glad the solution was simple. I’m also glad I had enough compound left over in my tube. There were just enough for this project.
I decided to run LM-SENSORS/SENSORS to detect all the sensors on this computer (and there aren’t many). I detected around 2 temperatures probes using:
watch sensors
Here we are adding a watch in front of the sensors to allow it to refresh every 2 seconds.
Here are the results of the watch sensors command:
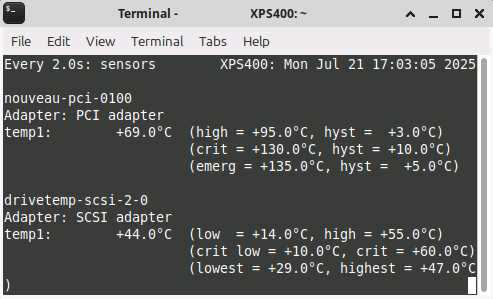
The temps are running perfect and the fans are purring no matter what I throw at them. This is an excellent fix for an older computer. You can’t even hear the fans with a lot more stress on the CPU. Excellent!
Conclusion
Loud computer fans are more than just an annoyance—they’re often a warning sign that something needs attention. Whether it’s dust buildup, high CPU usage, or aging thermal paste, addressing the root cause can restore peace and extend your machine’s life. With a bit of maintenance and the right tools, your PC can run quieter and cooler in no time.


0 Comments